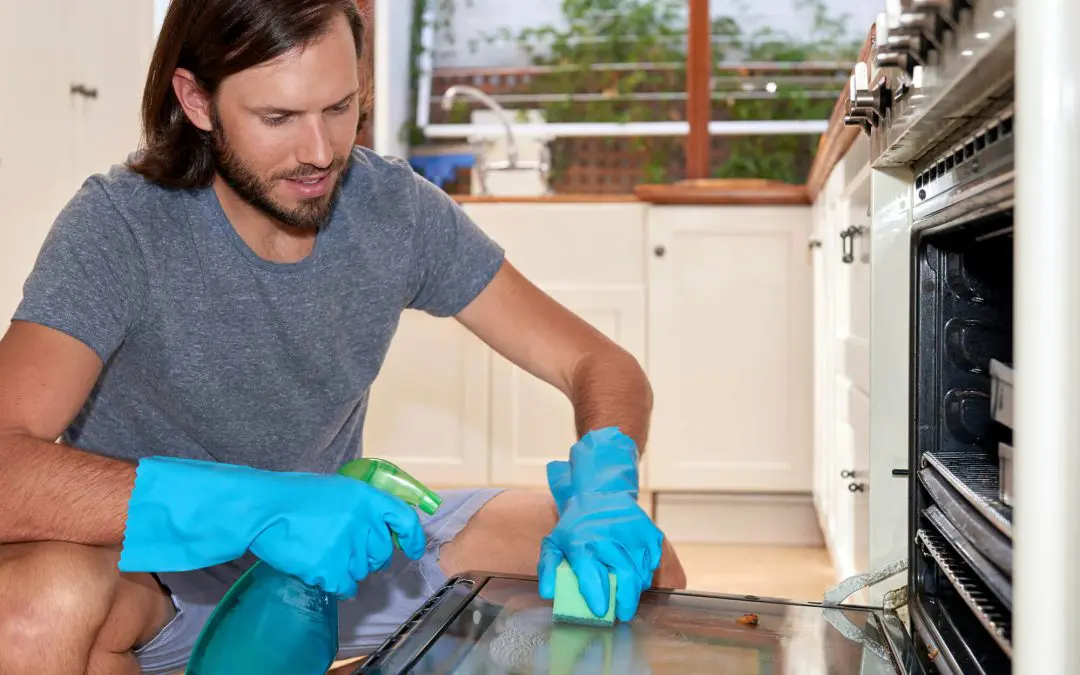
Oven messes can get out of hand pretty quickly. Despite its reputation as a tedious chore, cleaning your oven can be a manageable and even satisfying task with the right approach. In this comprehensive guide, we’ll walk you through a step-by-step process to help you clean your oven like a pro.
Materials Needed to Clean Your Oven
1. Baking soda
2. White vinegar
3. Dish soap
4. Water
5. Rags or sponges
6. Rubber gloves
7. Scrubbing brush or old toothbrush
Step 1: Preparation
Start by ensuring your oven is cool. Remove oven racks, trays, and any loose debris from the interior using a dry cloth or a handheld vacuum. This step provides a clean slate for the deep cleaning process.
Step 2: Create a Baking Soda Paste to Clean Your Oven
In a bowl, combine about 1/2 cup of baking soda with a few tablespoons of water until it forms a spreadable paste. Baking soda is an excellent natural abrasive that aids in breaking down stubborn grease and grime.
Step 3: Apply the Baking Soda Paste
Spread the baking soda paste generously over the interior surfaces of the oven, paying extra attention to areas with visible buildup. Avoid applying the paste to exposed heating elements.
Step 4: Let it Sit Overnight
Allow the baking soda paste to work its magic by letting it sit for at least 12 hours, preferably overnight. This extended duration gives the paste ample time to loosen the stubborn residue.
Step 5: Wipe Away the Paste
Wipe away the dried baking soda paste using a damp cloth or sponge. For tougher spots, use a scrubbing brush or an old toothbrush to gently scrub away any remaining grime.
Step 6: Clean Your Oven Racks Separately
While the baking soda paste works inside the oven, turn your attention to the oven racks. Soak them in a mixture of hot water and dish soap or place them in a large trash bag with a cup of ammonia. Let them sit overnight, and then scrub away any remaining grime using a scrub brush or steel wool.
Step 7: Tackle Stubborn Stains
For persistent stains or lingering residue, mix equal parts water and white vinegar in a spray bottle. Spritz the affected areas and allow the solution to sit for a few minutes. Then, wipe away the stains with a damp cloth, revealing a gleaming oven interior.
Step 8: Replace Oven Racks
Once the oven and racks are clean, ensure they are thoroughly dry before replacing the racks and any other removable components. This step prevents moisture buildup inside the oven.
Step 9: Final Touches
Give the oven door a final wipe to remove any fingerprints or smudges that may have accumulated during the cleaning process. If your oven has a self-cleaning function, consider running it at this stage to eliminate any remaining residue and maintain a pristine cooking environment.
Regularly cleaning your oven is a small investment of time that pays off in the long run by enhancing its efficiency and prolonging its lifespan. By following this comprehensive guide, you can transform oven cleaning from a daunting task into a manageable routine.
Robertson Home Inspection provides inspection for homebuyers and sellers in the Piedmont Triad area of North Carolina. Contact us to request our services.

